Vyatta based VyOS - Linux based network OS
VyOS is quite interesting OS. It’s a open source Linux based network operating system based on Vyatta. It’s config style seems bit like JunOS in terms of hierarchy and set/edit/delete options while editing configuration.
**Can one use it in a small ISP or a Corporate LAN setup?
Someone asked me recently if we can have complete open source based router in smaller network doing basic stuff. Not with not-so-streamlined Linux shell but networking OS where network engineers favorite tool “?” works in CLI with options. Let’s take a possible case with bunch of routers, a server with speedtest-mini running on it and end desktop with Ubuntu-desktop on it along with VyOS based router. Goal here is to have basic features to work (to start with!). I am conducting this test and setup on the VM infrastructure at home but that should have zero impact/configuration of network devices and hence not going to focus on that part. All devices including server, desktop and router are pretty much running on virtual machines or KVM containers. To configure and test:
- Configuration of interfaces and basic static routing with reachability
- Source-NAT on RTR01 for LAN side connectivity with DHCP
- Traffic shaping on RTR01 on per user basis
- IPv6 autoconfig
- Basic firewalling to protect server01
Note: I am treating 10.x.x.x range here as public IP wan range in demo while 192.168.1.0/24 as LAN IPs which would be NATted behind WAN IP.
1.Static routing with reachability
Configuring VyOS is very much like that of JunOS - basic edit to go inside to hierarchal levels and set to add to config, delete to delete from config. Configuration on transit router’s interface
anurag@Transit-Router# show interfaces
 ethernet eth0 {
     address 10.10.10.1/30
     description "\*\*\*Connected to server01\*\*\*"
     duplex auto
     ipv6 {
         address {
             autoconf
         }
         dup-addr-detect-transmits 1
     }
     smp\_affinity auto
     speed auto
 }
 ethernet eth1 {
     address 10.10.10.5/30
     description "\*\*\*Connected to RTR01\*\*\*"
     duplex auto
     smp\_affinity auto
     speed auto
 }
 ethernet eth2 {
     address dhcp
     description "\*\*\*Management from home LAN\*\*\*"
     duplex auto
     smp\_affinity auto
     speed auto
 }
 loopback lo {
 }
[edit]
anurag@Transit-Router#
Configuration on RTR01 interfaces
anurag@rtr01# show interfaces
 ethernet eth0 {
     address 10.10.10.6/30
     description "\*\*\*Link to Transit router\*\*\*"
     duplex auto
     ipv6 {
         address {
             autoconf
         }
         dup-addr-detect-transmits 1
     }
     smp\_affinity auto
     speed auto
 }
 ethernet eth1 {
     address 192.168.1.1/24
     description "\*\*\*LAN side interface\*\*\*"
     duplex auto
     smp\_affinity auto
     speed auto
     }
 }
 ethernet eth2 {
     address dhcp
     description "\*\*\*Magamenet access from production LAN\*\*\*"
     duplex auto
     smp\_affinity auto
     speed auto
 }
 loopback lo {
 }
[edit]
anurag@rtr01#
Transit router is without any default route, while server01 & RTR01 have default towards transit and as usual end user desktops have default towards RTR01.
anurag@rtr01# show protocols static
 route 0.0.0.0/0 {
     next-hop 10.10.10.5 {
     }
 }
[edit]
anurag@rtr01#
This gives basic connectivity from RTR01 all way up to the server01. Connectivity test
anurag@rtr01:~$ ping 10.10.10.5 count 5
PING 10.10.10.5 (10.10.10.5) 56(84) bytes of data.
64 bytes from 10.10.10.5: icmp\_req=1 ttl=64 time=0.728 ms
64 bytes from 10.10.10.5: icmp\_req=2 ttl=64 time=0.560 ms
64 bytes from 10.10.10.5: icmp\_req=3 ttl=64 time=0.405 ms
64 bytes from 10.10.10.5: icmp\_req=4 ttl=64 time=0.516 ms
64 bytes from 10.10.10.5: icmp\_req=5 ttl=64 time=0.545 ms
--- 10.10.10.5 ping statistics ---
5 packets transmitted, 5 received, 0% packet loss, time 3999ms
rtt min/avg/max/mdev = 0.405/0.550/0.728/0.108 ms
anurag@rtr01:~$
anurag@rtr01:~$
anurag@rtr01:~$ ping 10.10.10.2 count 5
PING 10.10.10.2 (10.10.10.2) 56(84) bytes of data.
64 bytes from 10.10.10.2: icmp\_req=1 ttl=63 time=0.836 ms
64 bytes from 10.10.10.2: icmp\_req=2 ttl=63 time=0.717 ms
64 bytes from 10.10.10.2: icmp\_req=3 ttl=63 time=0.784 ms
64 bytes from 10.10.10.2: icmp\_req=4 ttl=63 time=0.774 ms
64 bytes from 10.10.10.2: icmp\_req=5 ttl=63 time=0.709 ms
--- 10.10.10.2 ping statistics ---
5 packets transmitted, 5 received, 0% packet loss, time 3998ms
rtt min/avg/max/mdev = 0.709/0.764/0.836/0.046 ms
anurag@rtr01:~$
anurag@rtr01:~$
anurag@rtr01:~$
anurag@rtr01:~$ traceroute 10.10.10.2
traceroute to 10.10.10.2 (10.10.10.2), 30 hops max, 60 byte packets
 1  10.10.10.5 (10.10.10.5)  2.226 ms  1.907 ms  1.830 ms
 2  10.10.10.2 (10.10.10.2)  1.766 ms  1.700 ms  1.649 ms
anurag@rtr01:~$
2.Source-NAT on RTR01 for LAN side connectivity
So we have eth1 on the transit router facing on LAN side. Just like all other LANs, it would need a combination of DHCP + NAT of private against WAN IP for outgoing packets. Configuration DHCP
anurag@rtr01# show service dhcp-server
 disabled false
 shared-network-name LAN {
     subnet 192.168.1.0/24 {
         default-router 192.168.1.1
         dns-server 8.8.8.8
         start 192.168.1.2 {
             stop 192.168.1.200
         }
     }
 }
[edit]
anurag@rtr01#
Note: Here subnet and default router IP belongs to IP used on eth1 interface. Now we have 192.168.1.0/24 as LAN pool, and we need to NAT it against WAN IP which is on eth0 - 10.10.10.6.
NAT configuration
anurag@rtr01# show nat
 source {
     rule 1 {
         outbound-interface eth0
         source {
             address 192.168.1.0/24
         }
         translation {
             address masquerade
         }
     }
 }
[edit]
anurag@rtr01#
This ensures that all packets with source IP from pool 192.168.1.0/24 going to outside world via eth0 - WAN would be “re-written” to source IP address of WAN. Once this is done, Ubuntu-desktop shows IP 192.168.1.2 which it learnt from RTR01.

Quick check on NAT table on RTR01
anurag@rtr01:~$ show nat source translations
Pre-NAT              Post-NAT             Prot  Timeout
192.168.1.2          10.10.10.6           udp   2
192.168.1.2          10.10.10.6           udp   18
192.168.1.2          10.10.10.6           udp   12
192.168.1.2          10.10.10.6           udp   8
192.168.1.2          10.10.10.6           udp   25
192.168.1.2          10.10.10.6           udp   7
192.168.1.2          10.10.10.6           udp   20
192.168.1.2          10.10.10.6           icmp  29
anurag@rtr01:~$
3. Traffic shaping on RTR01 on per user basis
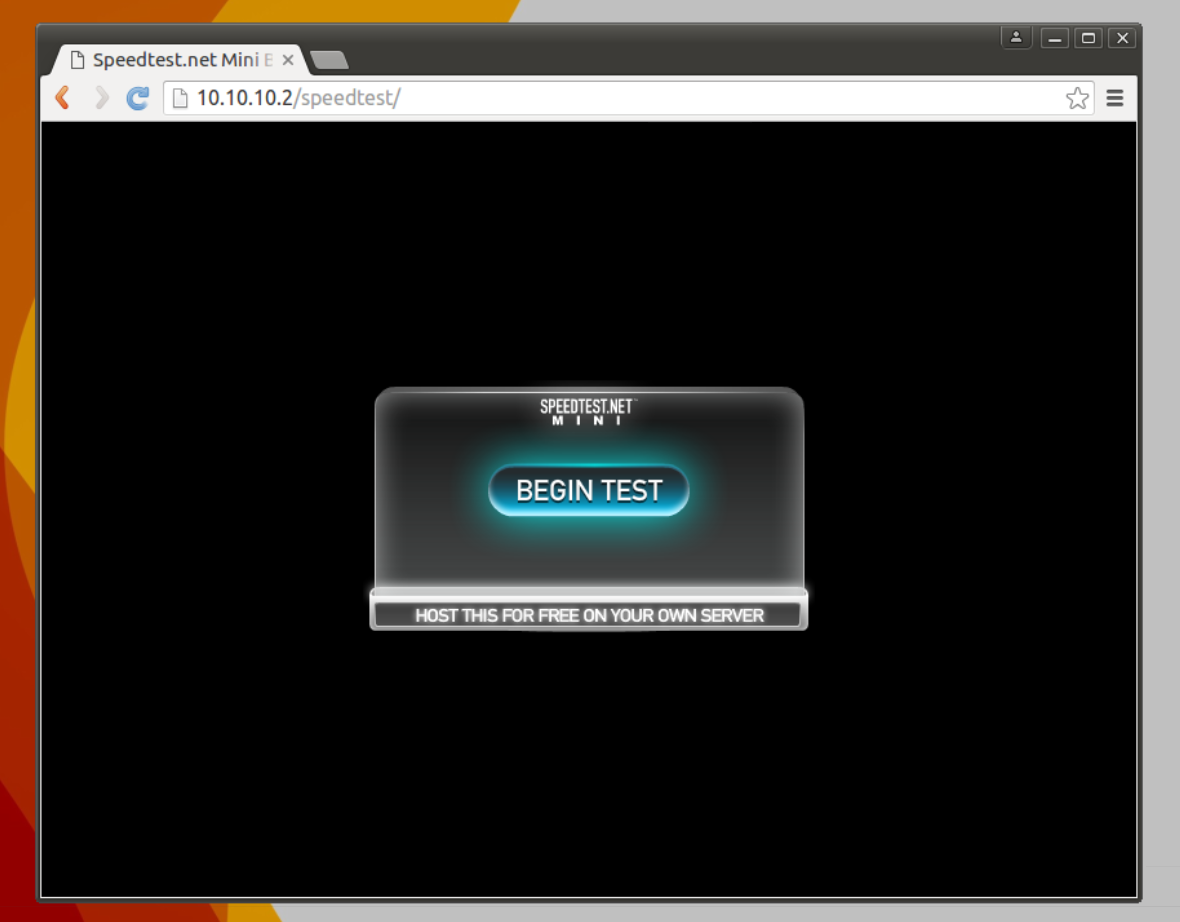
All works well. Now, I am running speedtest-mini script on the server01. So browsing http://10.10.10.2/speedtest on end desktop to test speeds. (Note: As I said this is virtualized environment and hence extremely likely I am going to hit resource limit much before actual theoretical speeds of port. Aim of this test is just sample and to assist in bandwidth shaping.)
Speedtest on Desktop
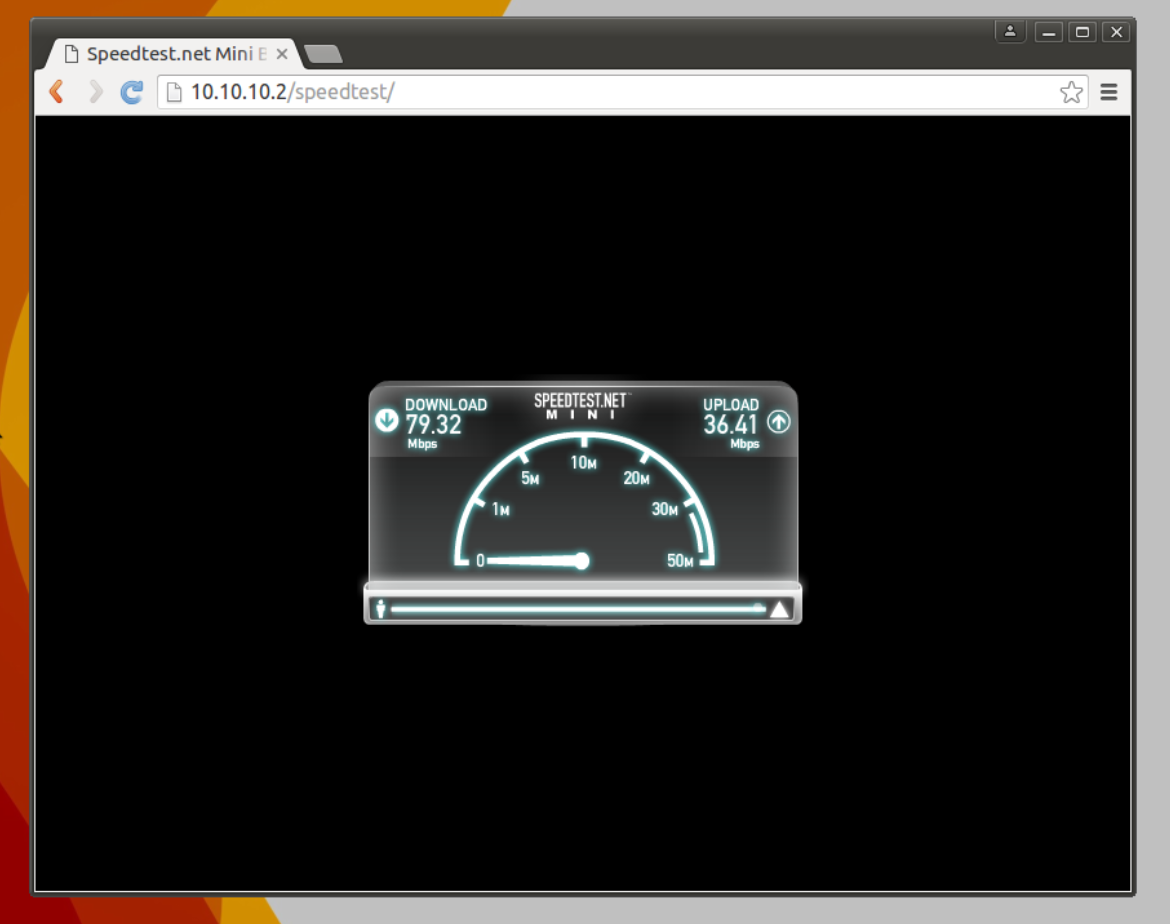 This shows quite decent speeds. Now coming to traffic shaping, let’s shape everyone on LAN to 10Mbps symmetric. Here we can make use of “traffic shaper”. One key thing with traffic shaper is that it works only in OUT direction and hence it can shape packets going in out direction from port. Thus to have symmetric effect, we can apply it on both eth0 - WAN (for capping uploads) and eth1 - LAN (for capping downloads).
anurag@rtr01# show traffic-policy
 shaper User-Download-Cap {
     bandwidth 10Mbit
     default {
         bandwidth 50%
         ceiling 100%
         queue-type fair-queue
     }
 }
 shaper User-Upload-Cap {
     bandwidth 10Mbit
     default {
         bandwidth 50%
         ceiling 100%
         queue-type fair-queue
     }
 }
[edit]
anurag@rtr01#
Next, we need to call appropriate shaper on interfaces. Calling “User-Upload-Cap” on eth0-WAN in outbound direction and “User-Download-Cap” in outbound in eth1-LAN direction.
Speedtest after cap
 And capping works! One can more fine tune it as per requirement like capping just specific traffic for specific set of users etc.
4. IPv6 autoconfig
So next goes is to have full IPv6 auto configuration. I would also dual stack interfaces of server01 to make IPv6 work end to end between server01 to desktop. Following RFC 3849, I will use 2001:DB8::/32 for this sample configuration / documentation purpose. 2001:DB8::/32 - Main allocation 2001:DB8:1::/48 - Transit Router Pool 2001:DB8:1:1::/64 - Connectivity with server01 2001:DB8:1:2::/64 - Connectivity between Transit Router and RTR01 2001:DB8:2::/48 - IPv6 pool for RTR01 routed to it 2001:DB8:2:a::/64 - LAN pool for allocation to end customers Dual stacking eth0 interface of Transit-Router which is facing server01 & eth1 facing RTR01
anurag@Transit-Router# show interfaces ethernet eth0
 address 10.10.10.1/30
 address 2001:db8:1:1::1/64
 description "\*\*\*Connected to server01\*\*\*"
 duplex auto
 smp\_affinity auto
 speed auto
[edit]
anurag@Transit-Router#
anurag@Transit-Router# show interfaces ethernet eth1
 address 10.10.10.5/30
 address 2001:DB8:1:2::1/64
 description "\*\*\*Connected to RTR01\*\*\*"
 duplex auto
 smp\_affinity auto
 speed auto
[edit]
anurag@Transit-Router#
Next, routing 2001:DB8:2::/48 behind RTR01 (2001:DB8:1:2::2)
anurag@Transit-Router# show protocols static
 route6 2001:DB8:2::/48 {
     next-hop 2001:DB8:1:2::2 {
     }
 }
[edit]
anurag@Transit-Router#
Configuration RTR01 interfaces with IPv6
anurag@rtr01# show interfaces ethernet eth0
 address 10.10.10.6/30
 address 2001:DB8:1:2::2/64
 description "\*\*\*Link to Transit router\*\*\*"
 duplex auto
 ipv6 {
     address {
         autoconf
     }
     dup-addr-detect-transmits 1
 }
 smp\_affinity auto
 speed auto
 traffic-policy {
     out User-Upload-Cap
 }
[edit]
anurag@rtr01# show interfaces ethernet eth1
 address 192.168.1.1/24
 address 2001:DB8:2:a::1/64
 description "\*\*\*LAN side interface\*\*\*"
 duplex auto
 ipv6 {
     router-advert {
         prefix 2001:DB8:2:a::/64 {
         }
     }
 }
 smp\_affinity auto
 speed auto
 traffic-policy {
     out User-Download-Cap
 }
[edit]
anurag@rtr01#
anurag@rtr01# show protocols static
 route 0.0.0.0/0 {
     next-hop 10.10.10.5 {
     }
 }
 route6 ::/0 {
     next-hop 2001:DB8:1:2::1 {
     }
 }
[edit]
anurag@rtr01#
Setting up router advertisements
anurag@rtr01# set ipv6 router-advert
\[edit interfaces ethernet eth1\]
anurag@rtr01# commit
\[ interfaces ethernet eth1 ipv6 router-advert \]
Re-generating radvd config file for interface eth1...
Starting radvd...
Starting radvd: radvd.
\[edit interfaces ethernet eth1\]
anurag@rtr01#
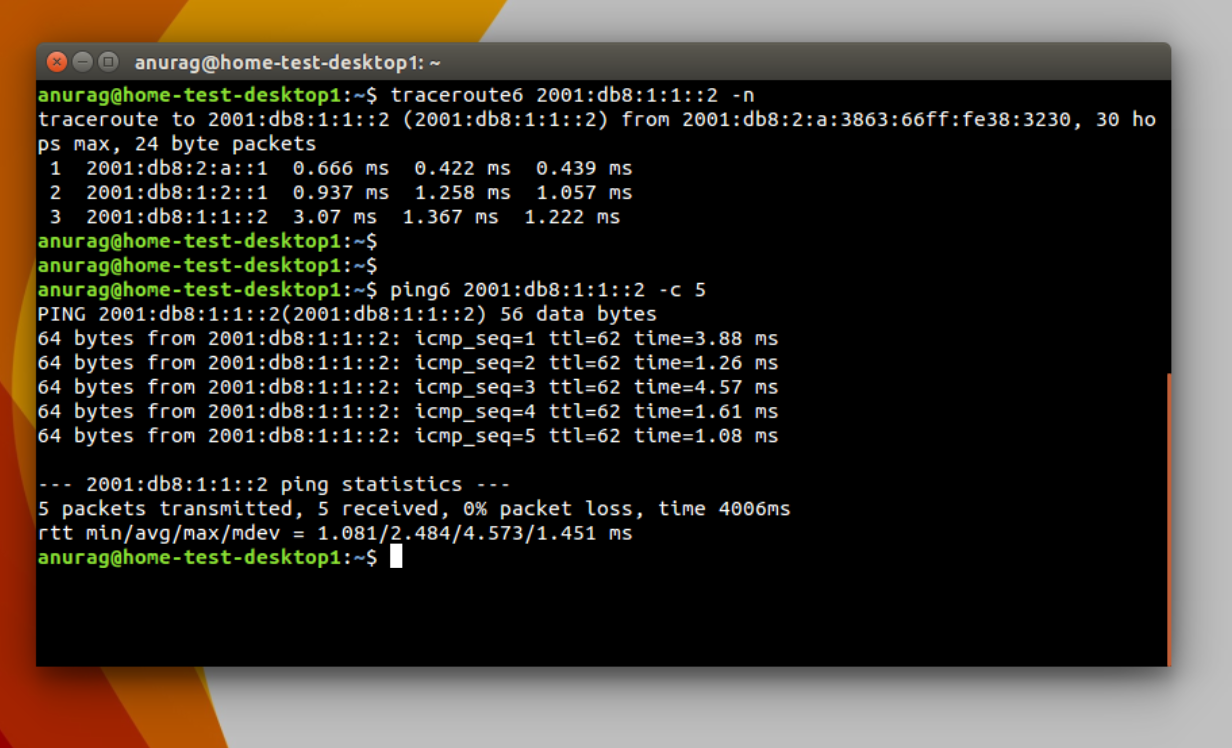
Checking now on end user desktop
 (This shows IPv6 getting automatically configured on the end user’s desktop)
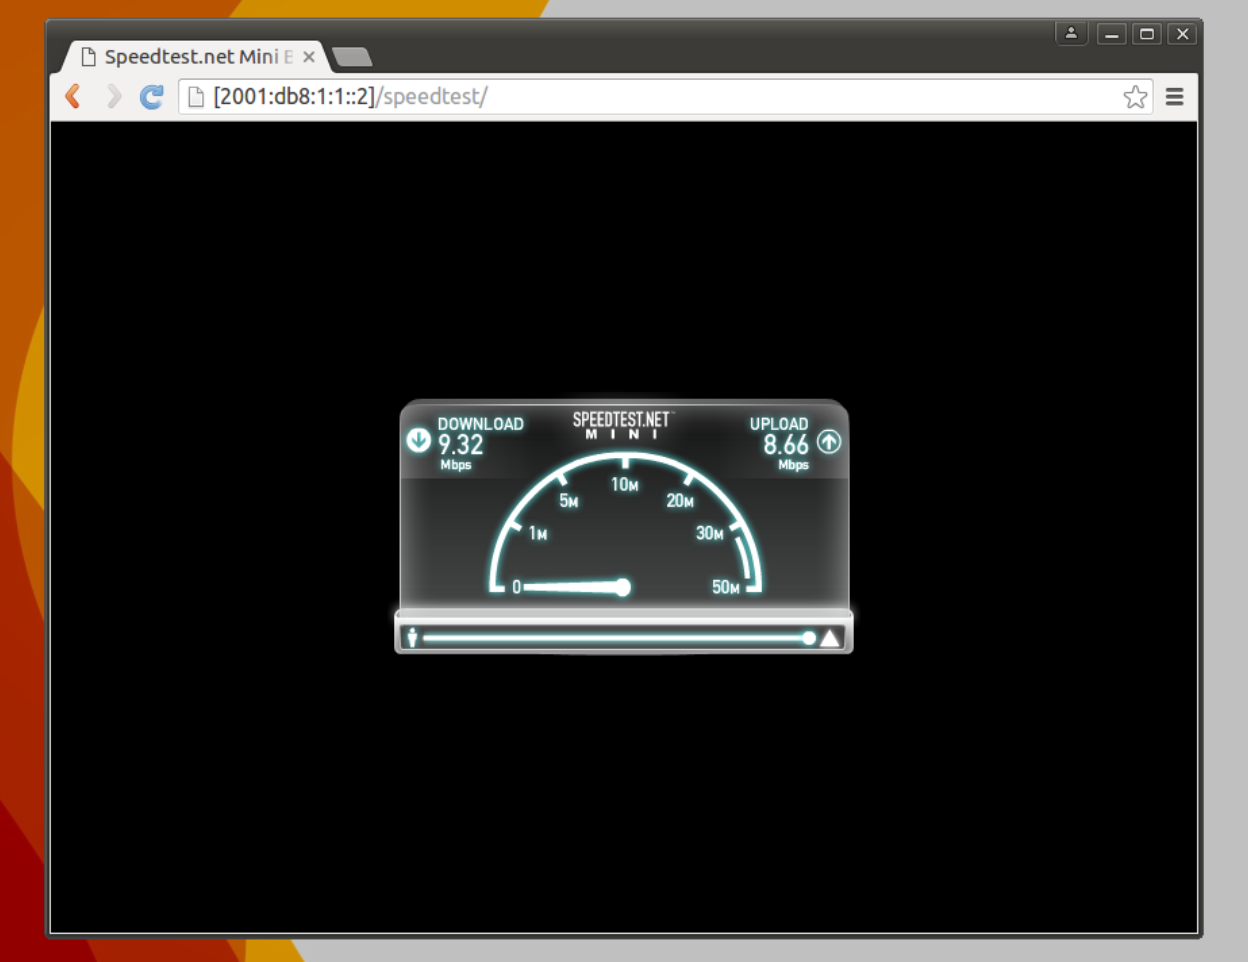 Speedtest over IPv6 is also capped since cap was based on interfaces and traffic flow and hence works on both IPv4 and IPv6 world.
5.Basic firewalling to protect server01
In current configuration, server01 has all open ports. Let’s try to allow only and only tcp port 80 traffic and drop everything else. Out ports from server01 to outside should work. Step 1 - Create firewall rule to drop all traffic by default and just allow tcp port 80 and established + related connections so that return traffic (initiated from server) could work.
anurag@Transit-Router# show firewall
 name server01-Inbound {
     default-action drop
     rule 1 {
         action accept
         destination {
             port http
         }
         protocol tcp
     }
     rule 2 {
         action accept
         state {
             established enable
             related enable
         }
     }
 }
[edit]
anurag@Transit-Router#
Step 2 - Next, apply this policy on the “out” direction on the interface connecting the server01 so packet going towards the server can be filtered.
anurag@Transit-Router# show interfaces ethernet eth0 firewall
 in {
 }
 out {
     name server01-Inbound
 }
[edit]
anurag@Transit-Router#
And finally testing and looking at firewall statistics
anurag@Transit-Router:~$ show firewall statistics
-----------------------------
Rulesets Information
-----------------------------
--------------------------------------------------------------------------------
IPv4 Firewall "server01-Inbound":
 Active on (eth0,OUT)
rule  packets   bytes     action  source              destination
---- ------- ----- ------ ------ -----------
1     0         0         ACCEPT  0.0.0.0/0           0.0.0.0/0
2     86        7.22K     ACCEPT  0.0.0.0/0           0.0.0.0/0
10000 6         504       DROP    0.0.0.0/0           0.0.0.0/0
anurag@Transit-Router:~$
All works pretty well. We can surely use such box in a small network. Next logical step - using it for more cool features like full redundancy using VRRP, OpenVPN tunnels, BGP with route-maps etc. Note: I would presenting a paper on “Disconnected Network Islands” at SANOG 27 on 25th. Meet and greet if you are around! :)